01 · Before you start
Prepare the store and one real shipment
FastOps Pro shows every package separately and keeps the last verified status available while new carrier events arrive. Start with Shipmondo for broad coverage, then add PostNord, GLS or dao directly when the store needs faster carrier updates.
- Install FastOps Community and FastOps Pro together. Activate the Pro licence and confirm the background service is healthy.
- Use a public HTTPS site address. Shipmondo and PostNord must be able to reach the secure callback URL FastOps creates.
- Prepare a recent real shipment. Keep the WooCommerce order ID, carrier and tracking number nearby for every provider you connect.
- Use an administrator account. Shipment connections are under FastOps → Settings → Shipment status.
02 · Show status in Orders
Turn on the column, then inspect each package
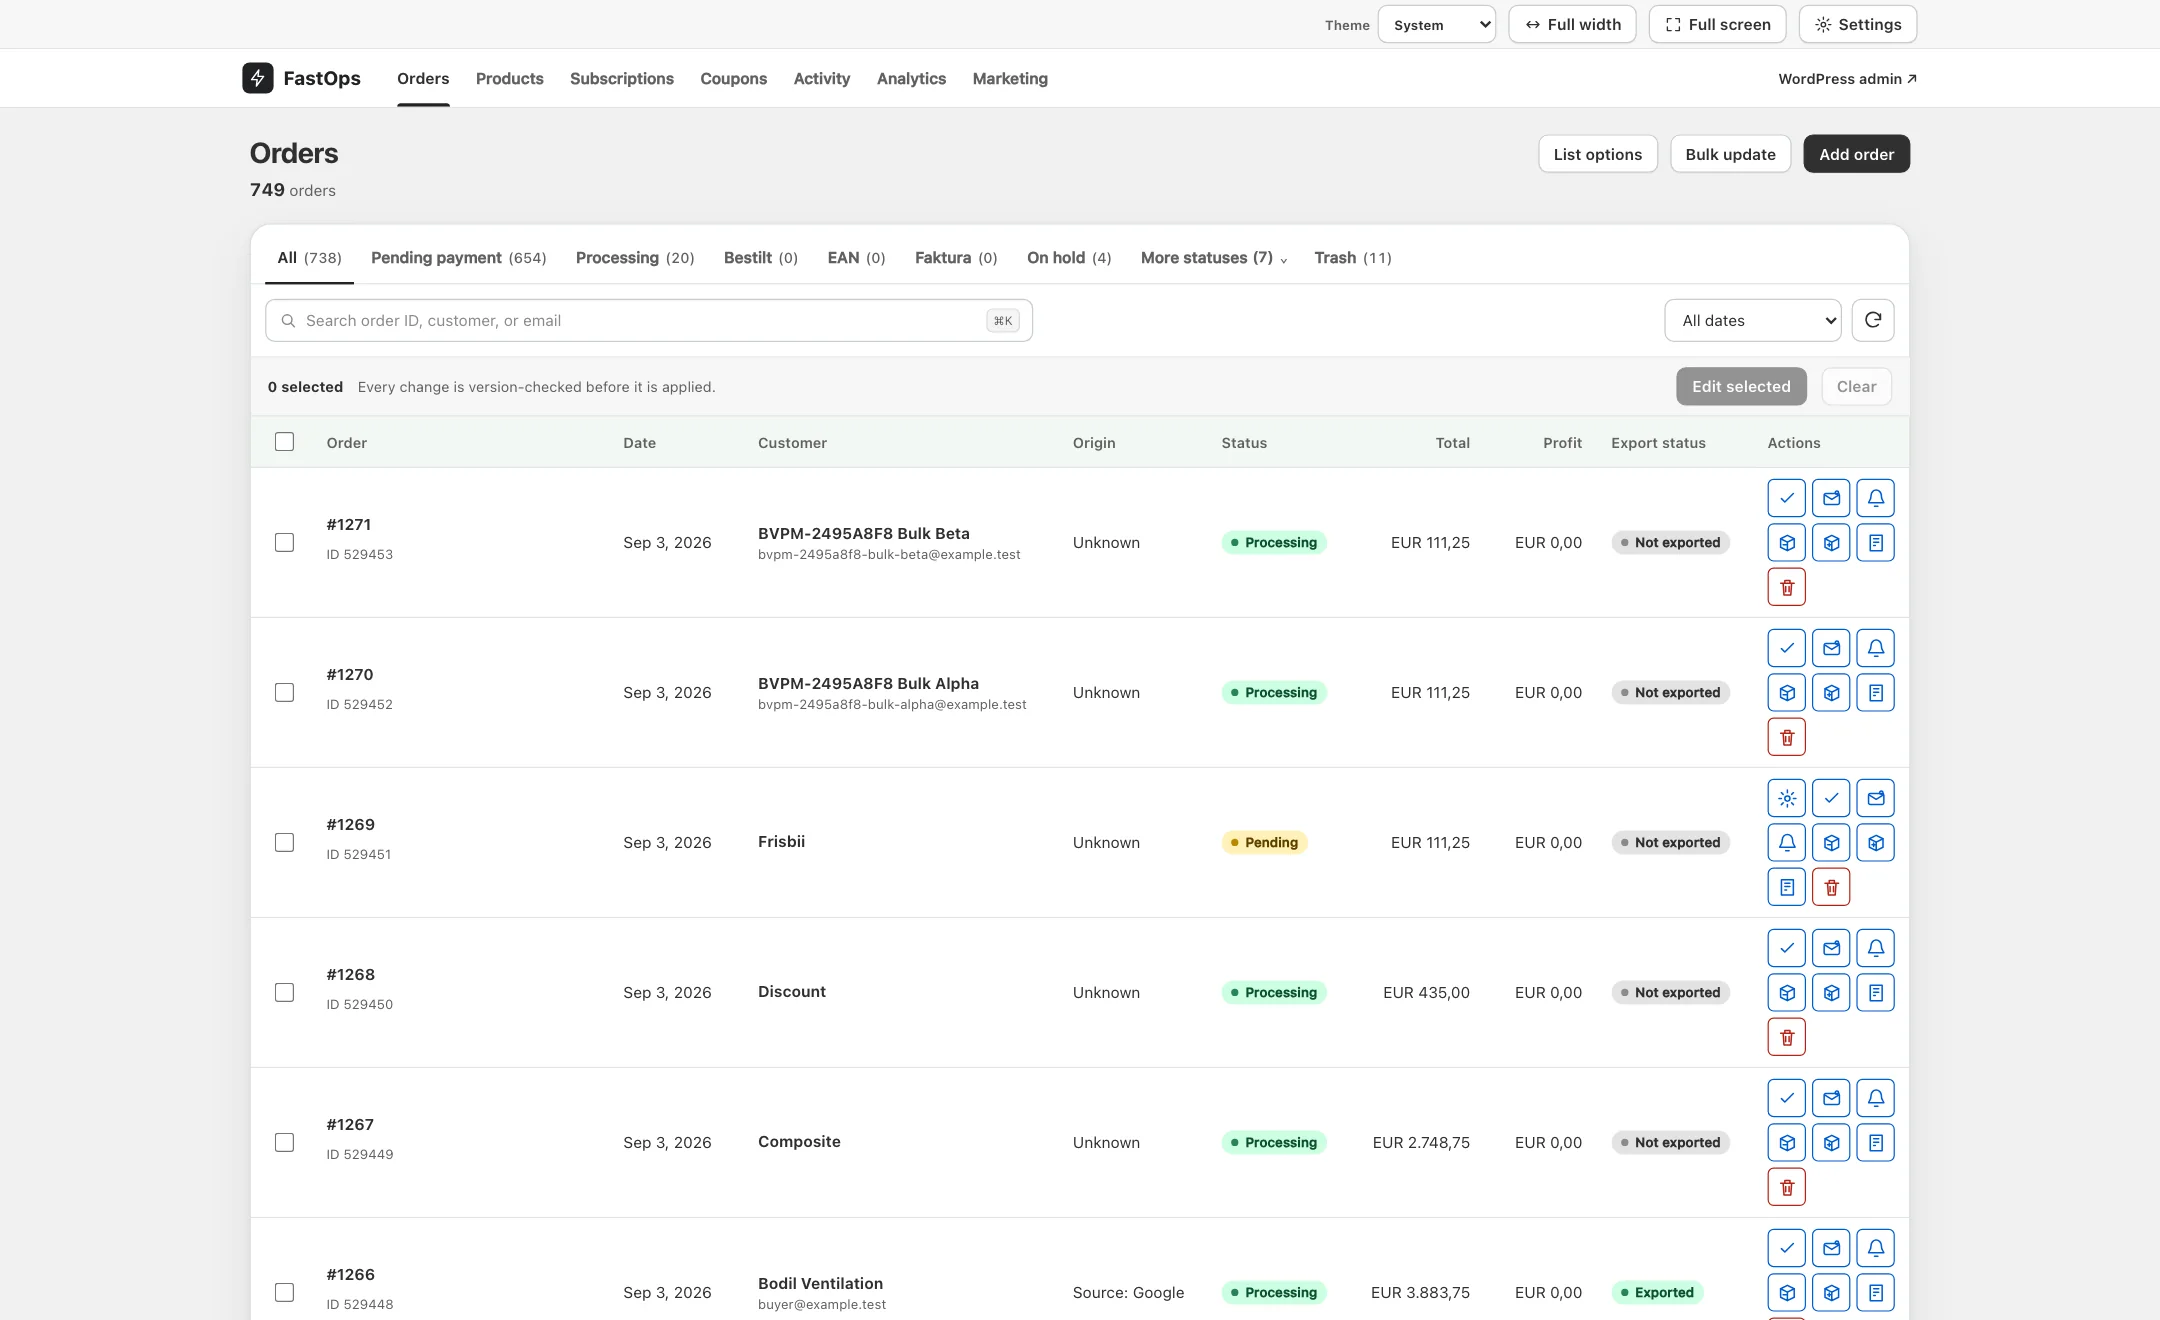
- List options: enable Shipment status on the order list.
- Settings: open Shipments to connect Shipmondo or a carrier.
- Open a shipped order to inspect its individual package cards and event history.
- Open FastOps → Orders, choose List options and enable Shipment status.
- Open a shipped order. Each package shows its carrier, tracking number, current status, tracking link, update time, freshness and data source.
- Expand the package history to compare recent events. Split shipments remain separate even when one WooCommerce order uses several carriers.
If the shipping plugin saved a tracking number on the order, FastOps imports it automatically. A connected Shipmondo account can also discover recent shipments that were not saved into WooCommerce order metadata.
03 · Connect Shipmondo
The recommended first connection
Use the Shipmondo account connection when the store already creates shipments in Shipmondo. One connection covers supported carriers across the account and can recover shipments missing from the WooCommerce plugin data.
Get the correct Shipmondo credentials
- Sign in to Shipmondo and open Settings → Integrations → API.
- Create or copy the account's API username and API key.
- Do not use a Delivery Checkout, Shipping Module or Google Maps key. Those keys cannot read account tracking.
Save the connection
- Open FastOps → Settings → Shipment status.
- Under Shipmondo account tracking, enter the API username and API key.
- Choose Save connections. The card first says Connecting in background….
- FastOps registers signed notifications for the latest status, delivery and newly created shipments. It also imports up to 180 days of recent account shipments in small batches.
- Wait for Connected — tracking active. If the card says Connection needs attention, read the error, correct the credentials or connectivity issue and save again.
Verify Shipmondo
- Choose Refresh now in Shipment settings.
- Open a recent order whose shipment is visible in Shipmondo. The package should appear even if the WooCommerce plugin did not save it.
- Confirm the package number and carrier, then compare the latest status with Shipmondo's Shipment tab.
- After a Shipment Monitor event, Data source says Shipmondo account. Before that first event, the identity may say Shipmondo order data.
Shipmondo describes Shipment Monitor as updating about once daily. Add a direct carrier connection when scan-by-scan speed matters.
04 · Connect PostNord
Receive signed Parcel Pulse events
PostNord is an optional faster connection alongside Shipmondo. It receives new Parcel Pulse notifications as PostNord publishes them.
Prepare the PostNord subscription
- Sign in to the PostNord Developer Portal and confirm that the customer account has Parcel Pulse access. Ask the PostNord account or API contact to enable it when it is unavailable.
- In FastOps → Settings → Shipment status, expand PostNord and copy the Secure webhook URL.
- Create or update the Parcel Pulse subscription in PostNord and paste that exact HTTPS URL as its endpoint.
- Copy the endpoint signing secret supplied for that same subscription. Treat both the signing secret and the secure webhook URL as passwords.
Save and prove the connection
- Paste the secret into PostNord endpoint signing secret.
- Tick I have enabled this webhook in the carrier portal, then choose Save connections.
- Webhook marked ready means FastOps has stored the setup. It does not claim PostNord has delivered an event yet.
- Wait for a new scan on a known PostNord package, or use a supported PostNord test notification.
- Open the order. Confirm the event is present, Data source says Carrier API, and the event agrees with PostNord Track & Trace.
FastOps rejects an invalid signature and notifications outside the permitted five-minute signing window. If nothing arrives, verify that the endpoint URL and signing secret came from the same active Parcel Pulse subscription.
05 · Connect GLS
Poll GLS Track & Trace directly
GLS is a direct lookup connection. FastOps retrieves the status and event history for active GLS tracking references already attached to an order or discovered through Shipmondo.
Get dedicated WebAPI credentials
- Ask the store's GLS account contact to enable Track & Trace WebAPI access if it is not already active.
- Obtain the dedicated WebAPI username and WebAPI password. A normal GLS website login is not necessarily an API login.
- Keep one recently active GLS tracking reference for the first connection test.
Save and verify GLS
- In Shipment settings, expand GLS, enter the WebAPI username and password, then choose Save connections.
- Credentials saved confirms only that the encrypted values are present. The first successful lookup proves API access.
- Confirm the GLS number is present on the WooCommerce order or has been discovered through Shipmondo, then choose Refresh now.
- Open the order and compare the latest event and tracking link with GLS. A successful direct lookup shows Carrier API.
An authentication error normally means GLS has not enabled WebAPI access for those credentials, or the website login was entered instead of the API login.
06 · Connect dao
Look up each active dao barcode
dao is a direct lookup connection. FastOps asks dao TrackNTrace for each active package barcode already known to the order.
Get dao API credentials
- Ask dao or the store's dao account contact for Parcel API/TrackNTrace access.
- Obtain the Customer ID and Parcel API password. Do not assume the ordinary dao portal password is the API password.
- Keep one recently active dao barcode for the first test.
Save and verify dao
- In Shipment settings, expand dao, enter the Customer ID and Parcel API password, then choose Save connections.
- Confirm the dao barcode is present on the order or was discovered through Shipmondo, then choose Refresh now.
- Open the order and compare its event, update time and tracking link with dao. A successful lookup shows Carrier API.
If dao returns no event, test the package barcode—not the WooCommerce order number—in dao tracking. A missing or mistyped barcode cannot be looked up.
07 · Data sources and timing
The best usable source wins
FastOps keeps useful package history from every accepted source, but the current status follows this priority:
| Data source | When it is used | Expected timing |
|---|---|---|
| Carrier API | PostNord, GLS, dao or another connected individual carrier supplies an event. | Fastest; a carrier notification or periodic direct lookup. |
| AfterShip | The optional fallback covers a carrier whose direct connection is unavailable or stale. | Depends on the AfterShip plan and carrier. |
| Shipmondo account | Shipmondo supplies a signed Shipment Monitor event. | About daily. |
| Shipmondo order data | Only the tracking identity or link saved on the WooCommerce order is available. | No live status guarantee. |
A fresh direct carrier event takes priority. An older or lower-priority event cannot make a delivered shipment look in transit again. During a temporary provider problem, FastOps keeps the last verified status visible and marks it delayed instead of clearing the package.
08 · Acceptance test
Prove all four connections before rollout
- Shipmondo discovery: choose a recent PostNord shipment visible in Shipmondo but absent from WooCommerce tracking metadata. Confirm FastOps adds it to the correct order.
- Shipmondo status: confirm a Shipment Monitor update changes the package and shows Shipmondo account.
- PostNord direct: trigger a later PostNord scan. Confirm it appears as Carrier API and supersedes the older Shipmondo status.
- GLS direct: refresh a live GLS tracking reference and compare the newest event and tracking link with GLS.
- dao direct: refresh a live dao barcode and compare the newest event and tracking link with dao.
- Split shipment: use an order with two packages and confirm each package retains its own carrier, current status and history.
- Continuity: interrupt the background service, confirm the last statuses remain visible, restore it and confirm queued updates catch up.
09 · Troubleshooting
Start with the connection state and package identity
- Shipmondo stays on Connecting
- Confirm both values came from Shipmondo API settings, not Delivery Checkout. Re-enter the API key, check the site's public HTTPS address, confirm the background service is healthy and ask the host whether outbound HTTPS to
app.shipmondo.comis blocked. - Connection needs attention
- Read the message on the Shipmondo card. Correct the reported credentials or connectivity problem and save again. Stored secrets are intentionally never shown back to you.
- A Shipmondo shipment is missing
- Confirm Shipmondo's order ID matches the WooCommerce order ID, the shipment is within the 180-day import window and the package has a real carrier tracking number.
- PostNord says Webhook marked ready
- This confirms the FastOps settings are saved, not that PostNord has called the URL. Check Parcel Pulse activation, the exact webhook URL and the signing secret, then wait for a new scan or send a supported test event.
- GLS credentials are saved but no status appears
- Confirm dedicated GLS WebAPI access, then test the same tracking reference with GLS. The reference must first be present on the order or discovered through Shipmondo.
- dao returns no events
- Verify the Customer ID, Parcel API password and exact package barcode. Do not use the WooCommerce order number in place of the barcode.
- The status is delayed or different
- Compare timestamps as well as labels. Shipmondo is roughly daily, carrier portals may show local time, and a newer direct carrier event correctly takes priority over a Shipmondo or AfterShip result.
- The package exists but has no live source
- Check Data source. Shipmondo order data means FastOps has the identity and link but has not received a live account or carrier event yet.
10 · Disconnect or replace credentials
Change the connection without losing package history
- Open the provider in FastOps → Settings → Shipment status.
- To stop it, tick its disconnect option and choose Save connections.
- To replace credentials, enter the new values and save. Blank credential fields keep the currently saved values.
- Disconnecting a live source does not erase tracking identities or previously accepted package history.